The Reencle Unboxing & Setup Guide: From First Look to Your First Compost


Why does our partnership matters
For every purchase, we plant 1 TREE to nurture our planet 🌲Together, we are sowing the seeds of change and cultivating a greener, more sustainable world.
Anything else?
Anything else?You willl also receive an official certificate from Greenspark as a token of appreciation for your commitment to the environment! 📜
How do we see the progress?
How do we see the progress?Join us on this remarkable journey towards an impact dashboard.You can see how your eco-smart choice made the world a better place
 View more
Your support empowers reforestation, fights climate change,
and paves the way for a brighter, eco-friendly future.
Join us on this remarkable journey towards a cleaner,healthier planet.
Shop with a purpose, shop with Reencle! 🛒💚
The Unboxing Experience: What to Expect
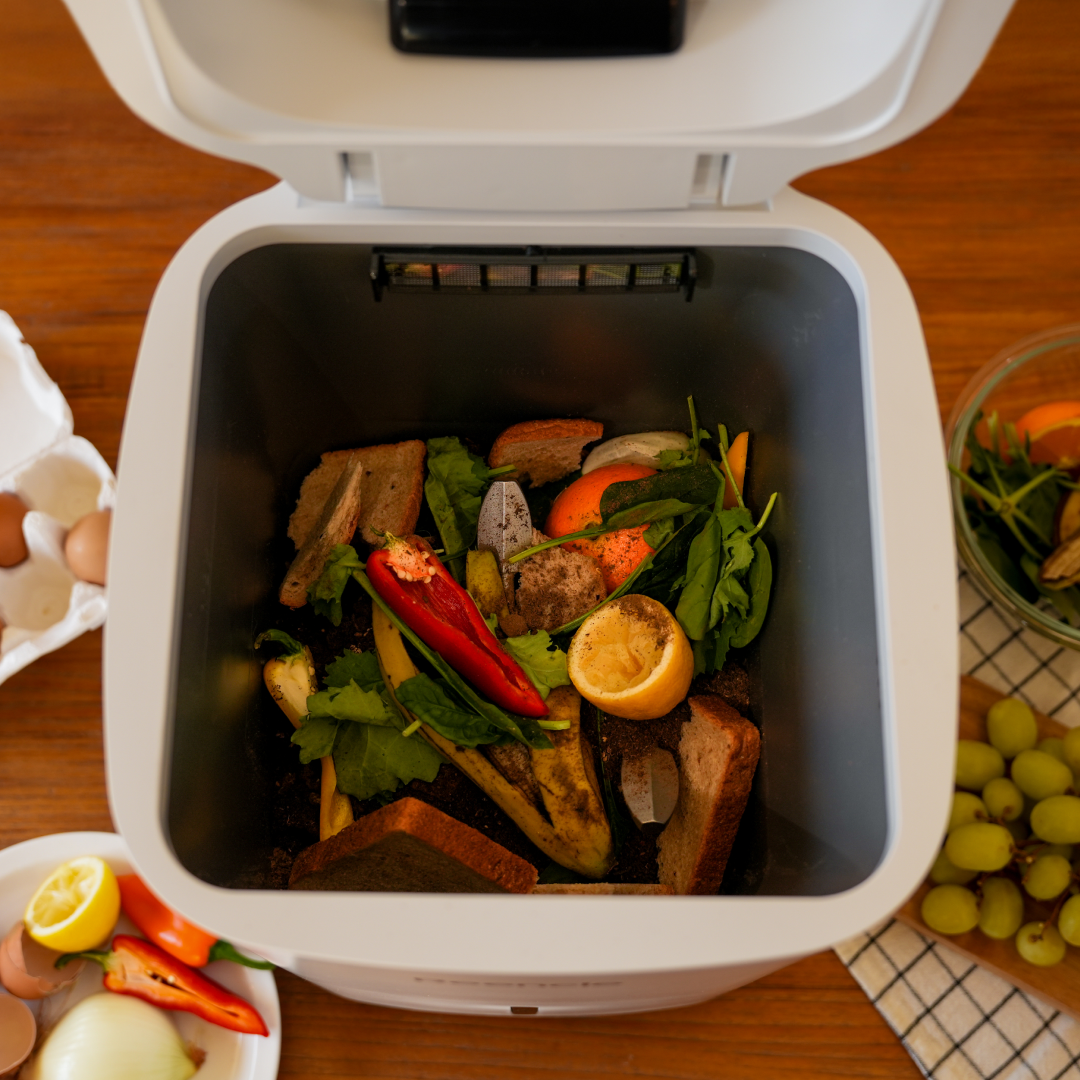
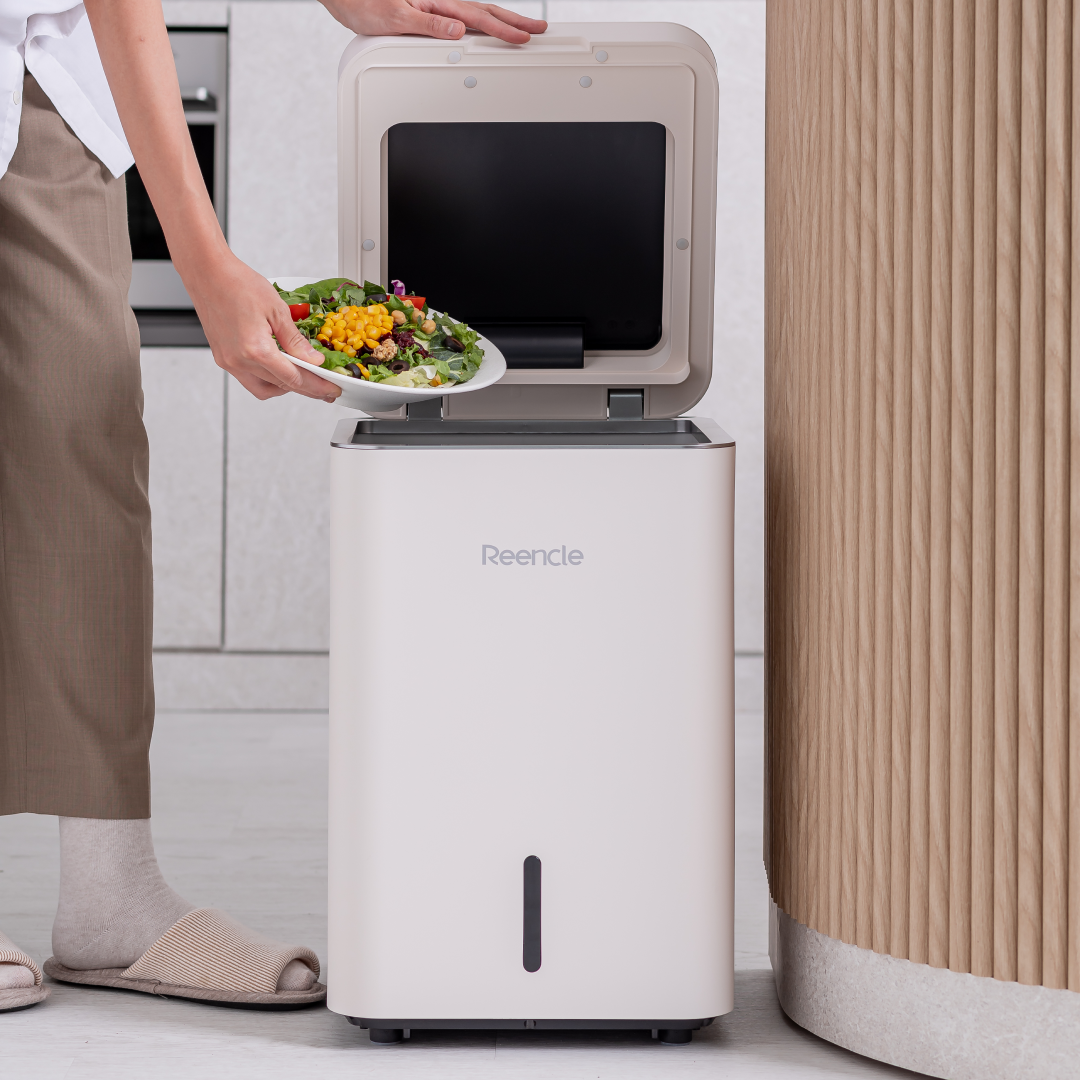
Unboxing your Reencle composter is the first step toward reducing food waste and creating nutrient-rich compost for your plants. Whether you ordered Reencle Prime or Reencle Gravity, you’ll find everything you need inside the box to start composting right away.
What’s Inside the Box?
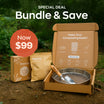
Your Reencle package includes:
- Reencle Machine: The main kitchen composter unit, either Prime or Gravity, designed to transform everyday food scraps into compost.
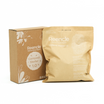
- Starter Mix: A specially formulated blend of microorganisms that kickstart the composting process.
- Instruction Manual & Setup Guide: Step-by-step instructions to help you get started smoothly.
- Accessories: One carbon filter, one trowel, and one starter kit—everything you need for your first compost cycle.
Step-by-Step Setup Guide
1. Unpack and Place the Unit
Remove the Reencle machine and components.
Take off the yellow stickers from the carbon filter and lock it into place on the back of the unit.
2. Plug It In
Choose a spot near a wall outlet—ideally your kitchen for easy access.
Make sure it’s an insulated, ventilated area away from harsh weather.
3. Add the Starter Mix
Pour in the starter mix plus 50–60 oz (1–1.5 liters) of water to activate the microorganisms.
4. Secure the Lid and Start
Close the lid, power on your Reencle, and let it run for 18–24 hours before adding carbohydrates or protein to feed your microorganisms.
Close the lid, power on your Reencle, and let it run for 18–24 hours before adding carbohydrates or protein to feed your microorganisms.
Initial Placement Tips for Reencle
- Best Location: Keep Reencle in your kitchen, close to where food scraps are generated.
- Alternative Options: A utility room or well-ventilated space with a power outlet also works.
- Why Ventilation Matters: Oxygen keeps the microorganisms active, and proper airflow prevents odors.
Powering On & Running the First Cycle
After setup;
- Add carbohydrate-rich or protein-rich food scraps (like bread, pasta, or rice) to energize your microorganisms.
- Monitor your unit over the first 24 hours to ensure it’s breaking down food waste properly.
Tips for Long-Term Composting Success
- Vary Your Food Waste
Balance proteins, carbs, and other food scraps. For odors, add bread or coffee grounds to neutralize smells. - Maintain Moisture and Temperature
Too dry? Add water.Too wet? Run a dry and purify cycle. - Regular Maintenance
Check the interior to make sure compost is turning correctly. If issues arise, reach out to Reencle’s customer support.
Why Choose Reencle for Composting?
Unlike dehydrator-based machines, Reencle uses natural aerobic composting to create real, soil-enriching compost. It’s the perfect solution for eco-conscious households looking to turn kitchen waste into something meaningful.
Start Your Composting Journey Today
Now that you’ve unboxed and set up your Reencle, you’re ready to transform food waste into nutrient-rich compost. Place your unit in the kitchen, keep the microorganisms healthy, and enjoy the rewards of sustainable living.
🌱 Ready to learn more? Follow us on social media for composting tips, gardening inspiration, and ongoing support.


